The Declaration of Identity Document or TA Form as it is known by some, is a Direct Trust requirement put forward on all organizations which operate as HISPs. In order to comply with Direct Trust, DataMotion must receive a fully filled out and signed copy of this form whenever a new Trusted Agent is onboarded. The remainder of this article covers what fields must be filled out, and the appropriate photo identification that must be provided. A notary or existing Trusted Agent will also be required in order to verify the form so it can be submitted.
Instructions for Completing a Declaration of Identity Document
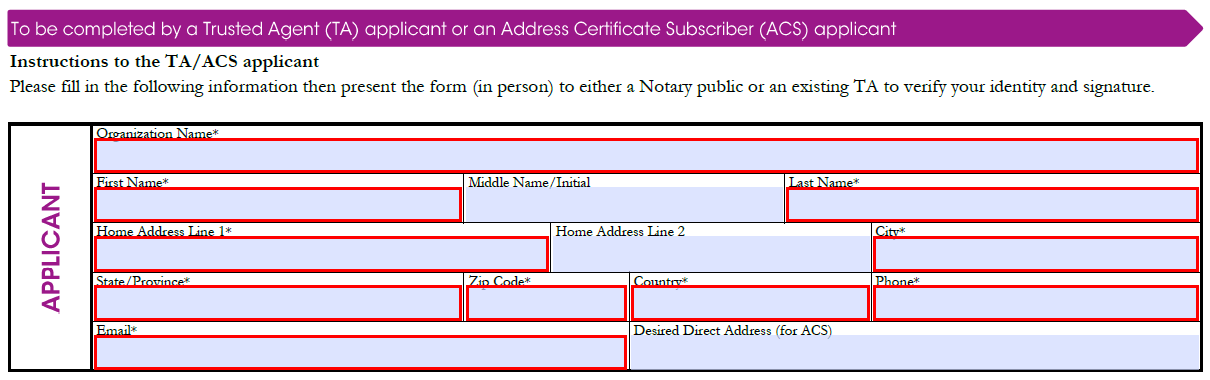
DataMotion Declaration of Identity DocumentProvide Personal Information
As a Trusted Agent applicant all necessary fields in the first section of the form are highlighted in red. Fill the information being requested by these fields as precisely as possible as they will be compared against the information filled out during the onboarding process for consistency and accuracy.
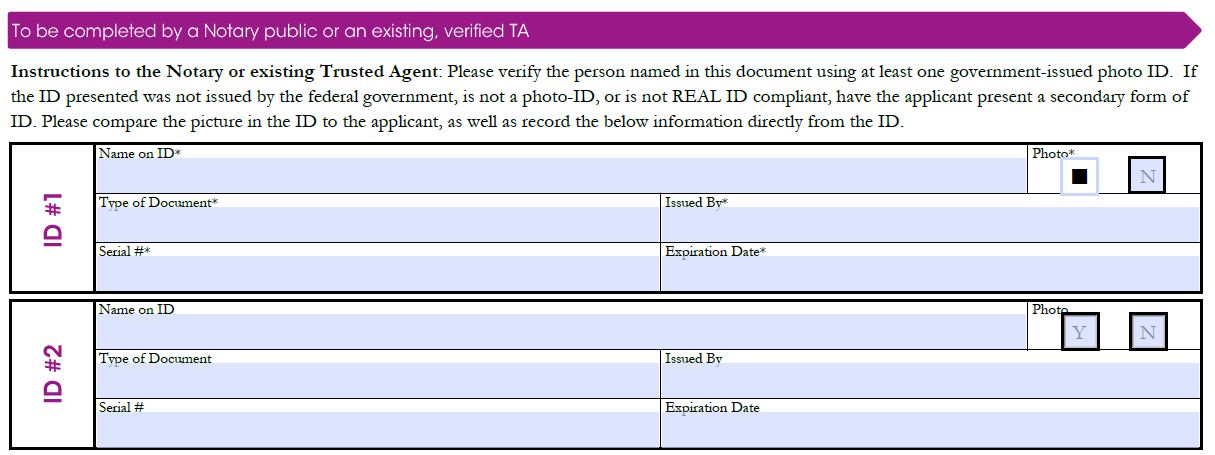
Provide a Valid Government Issued Photo ID
In the second section you must provide a valid government issued photo ID either in person or electronically when you have the form reviewed. All fields with an * symbol are required and must match the information on the photo ID being submitted. If you are using a non-REAL ID compliant ID a second photo ID will be required
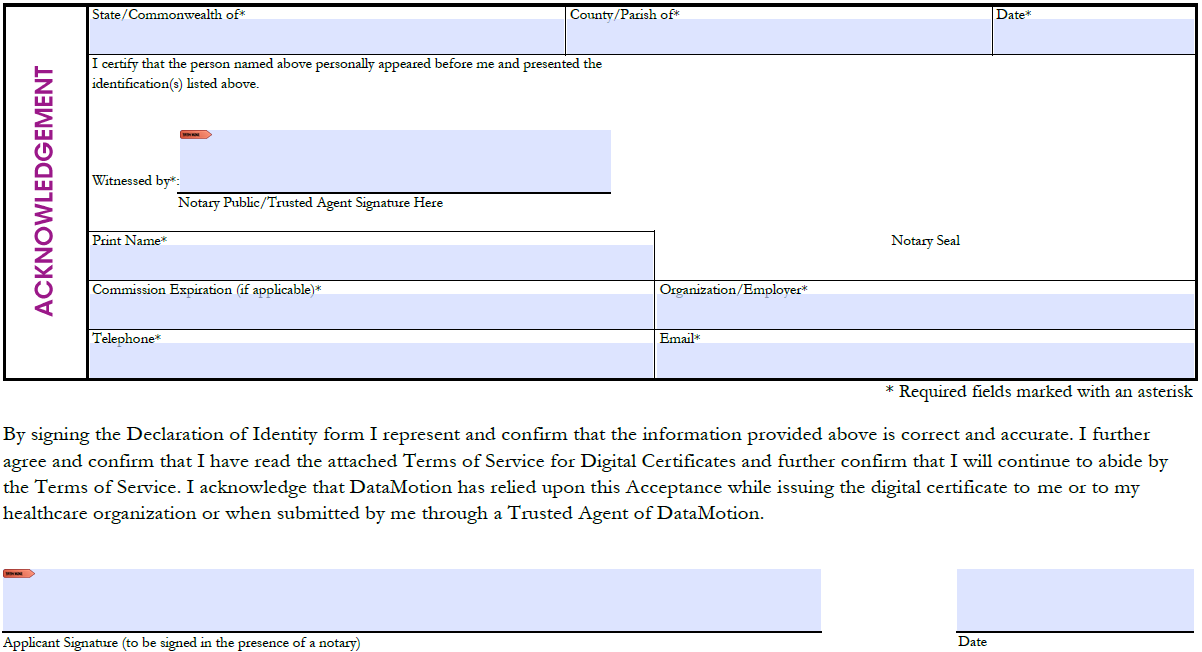
Form Verification
A notary or another Trusted Agent must review and verify all information entered in the form and sign. All fields with an * symbol must be filled out. If a notary is performing the verification they must provide their seal in the Notary Seal section of the form as well. The final step is to sign and date the document yourself as the TA applicant (Applicant Signature and Date lines at the bottom of page 1).